The charm and elegance that wooden windows can add to your home or office is second to none, so to maintain their beauty and longevity, regular cleaning is essential. And no, you don’t need to enlist the services of a regular window cleaner.
In this comprehensive guide, we’ll walk you through the entire process of cleaning your wooden windows, getting them spotless, without costing you a penny, so you can enjoy your timber windows for longer.
Before diving into the cleaning process, it’s important to gather the necessary tools and materials. For cleaning your wooden windows, you’ll need:
Use a sturdy ladder: If your wooden windows are up high, use a sturdy ladder or extension pole. Position the ladder securely on a stable surface.
Wear protective gear: To protect yourself from any potential injuries, wear protective gloves e.g. washing up gloves and goggles, especially if handling cleaning solutions.
Maintain balance and avoid overreaching: When cleaning windows, maintain a balanced position and avoid overreaching to prevent accidents or falls.
Ask for assistance: If you have tall or hard-to-reach windows, ask for assistance from a family member or friend.
Check weather conditions: Let’s quickly talk about the weather. You’re well aware of the unpredictable climate we have in good ol’ Blighty, so when you’re thinking of washing windows, choose a day with mild weather, avoiding direct sunlight or rain.
Safety announcements out of the way, let’s get to it!
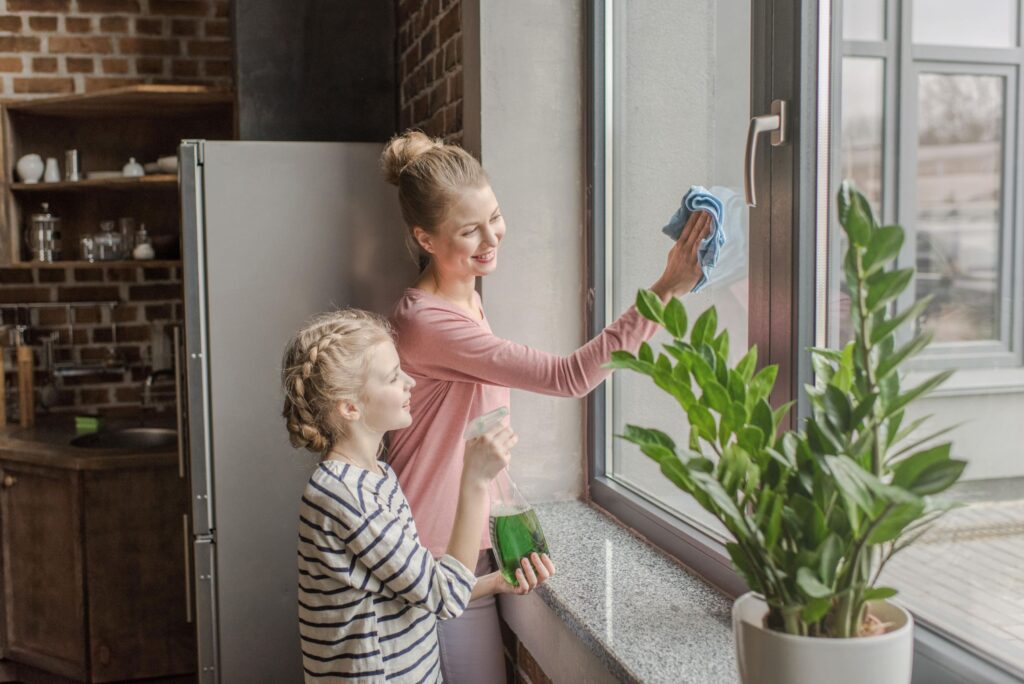
Before we can achieve sparkling, crystal-clear windows, you need to bid farewell to the dust bunnies and debris that have taken up residence on the glass surfaces and window sills.
Take a soft brush or a reliable microfiber cloth, and with delicate and sweeping motions, gently brush or wipe away any loose dirt and dust that have settled on the windows. Start from the top and work your way down, covering all areas of the glass.
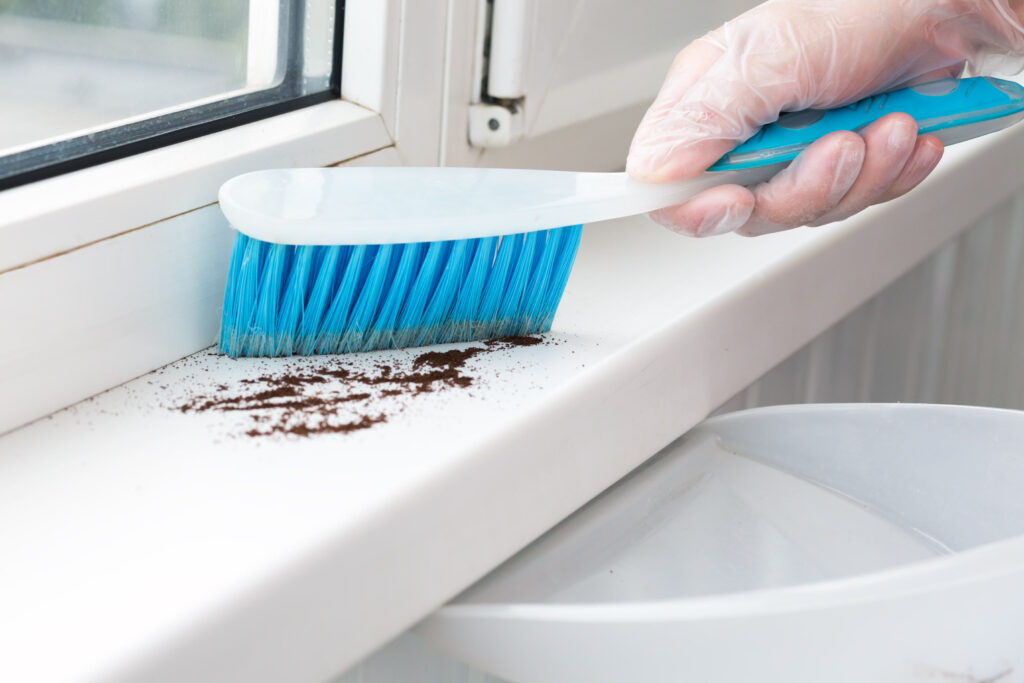
Next, grab a vacuum cleaner or a brush, and clear away any debris that has accumulated on your window sill. Glide the nozzle of your vacuum or sweep your brush along the sills and tracks, removing dirt, leaves, or other unwanted particles. This step ensures that your windows not only look clean, but also function smoothly.
Take a moment to inspect corners and crevices around your windows. Armed with a duster or a long-handled brush, carefully clear away any cobwebs and gently remove insect nests.
There are three options of glass cleaners to consider here:
If you prioritise convenience, commercial window cleaning solutions are a reliable choice. Look for a product specifically designed for use on wooden surfaces and follow the instructions provided on the packaging.
These solutions are formulated to effectively clean and protect the delicate finish of wooden windows, delivering optimal results. Only use the recommended amount as instructed to avoid any potential damage to the wooden frame.
For those who prefer a natural and cost-effective alternative, a homemade cleaning solution can work wonders. Vinegar, with its mild acidity, serves as an excellent cleaning agent for wooden windows.
Here’s how to prepare the solution:
While vinegar is generally safe for use on most wooden surfaces, always test the solution on a small, inconspicuous area of your window first to make sure there’s compatibility with the specific type of wood and finish you have.
Another safe, yet effective option for cleaning windows is to add a few drops of mild washing up liquid (liquid dish soap) to warm water. Soapy water helps break down grease and stubborn residue, leaving your windows clean and shiny. With this method though, you have to rinse your windows with fresh, clean water afterwards to remove any soap residue, and then dry them with paper towels/absorbent cloth, a clean microfibre cloth, or a squeegee blade for a streak-free finish.

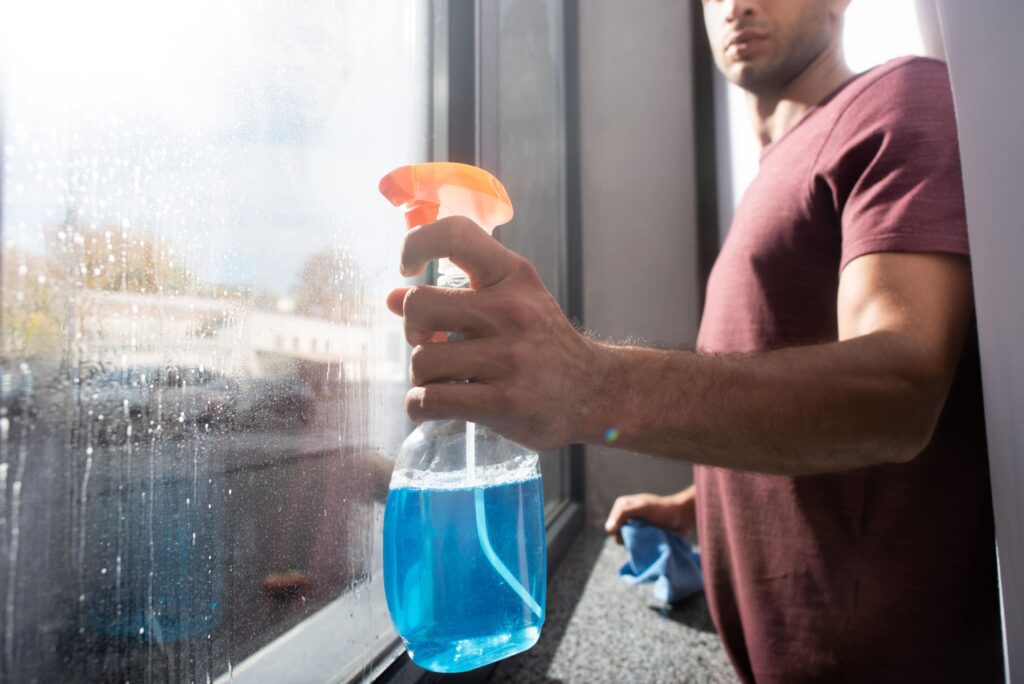
With the cleaning solution ready, it’s time to dive into the actual window washing process. Follow these steps to clean dirty windows and bring out their natural radiance.
Begin by generously spraying or applying your glass cleaner onto the glass. Cover the entire surface of the glass, making sure it’s sufficiently saturated. Try not to get the window frame too wet as excessive moisture can be detrimental to the wood’s integrity.
Now, armed with a microfiber cloth or a soft sponge, start cleaning the glass in gentle circular motions. This technique helps to dislodge and lift dirt, grime, and smudges. Begin at one corner of the window and work your way across the entire surface. Pay extra attention to any stubborn spots or stains, giving them a little extra love and elbow grease.
To achieve truly spotless windows, clean both inside and outside windows. If you have easy access to exterior windows, clean the outside first before moving indoors. This approach prevents any potential transfer of dirt or streaks from the exterior to the freshly cleaned interior surfaces. Repeat the circular motion cleaning technique on both sides for a comprehensive clean.

Sometimes, windows harbour stubborn stains that require a bit of extra effort to remove.
Identify stubborn stains on your windows and spray the cleaning solution directly onto these areas. Soak the stains and allow the solution to penetrate and loosen the grime.
Armed with a soft brush or a sponge, gently scrub the stained areas using small circular motions. The bristles or sponge will work in tandem with the cleaning solution to lift and dissolve the stubborn marks.
Exercise caution and avoid applying excessive pressure, particularly on delicate glass surfaces.
In the case of particularly tough or hard-to-remove stains, a scraper or razor blade can come to the rescue. Again, exercise extreme caution when using this method to prevent any damage to the glass. Hold the scraper or razor blade at a shallow angle, keeping it parallel to the window surface. Gently scrape off the stubborn stain. Always move the blade in one direction, away from your body, and avoid using excessive force to prevent scratching the glass.
Now that your windows are beautifully clean, it’s time to dry them.
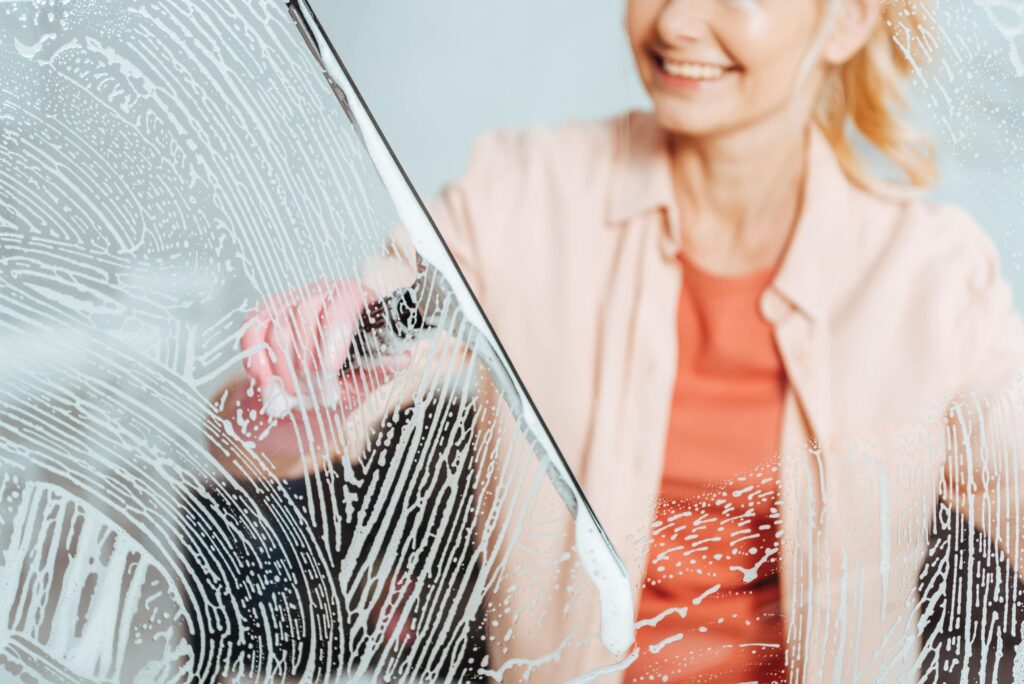
One effective method to remove excess water from the windows is to use a squeegee, which wipes away the water without leaving streaks. Begin at the top corner of the window and pull the squeegee across the glass in a smooth, horizontal motion. Wipe the squeegee blade clean with a lint-free towel after each pass. Continue this process until you have removed the majority of the water from the surface.
After using the squeegee, grab a separate microfiber cloth. Gently wipe any remaining moisture from the edges and corners of the window. Pay close attention to areas where water may collect, such as window sills or tracks. Ensure the cloth is clean and dry, as any residual moisture may leave streaks on the glass.
To achieve that pristine, streak-free finish, take a dry cloth and lightly polish the glass. Choose a lint-free cloth or microfiber cloth, as these materials are really good at soaking up any remaining moisture or streaks on the surface. Use gentle, circular motions to buff the glass until it shines.
Pro tip: When drying and polishing your windows, work quickly and avoid direct sunlight if possible. Direct sunlight can cause the cleaning solution to dry too quickly, potentially leaving streaks behind.
Try to clean windows at least twice a year for general maintenance. However, if you live in a high-traffic areas or in harsh environmental conditions, you might need to clean windows more frequently.
While newspaper was traditionally used for window cleaning, microfiber cloths are more effective and streak-free. Newspaper ink can leave residue on the glass.
It's best to avoid washing windows on a sunny day as the heat can cause the cleaning solution to dry quickly, resulting in streaks. Choose an overcast day or cooler hours for better results.
While water alone can remove some dirt, using a window cleaning solution or vinegar-based cleaner helps dissolve grime and leaves better, longer lasting results.
To remove hard water stains, mix equal parts vinegar and water, apply the solution to the stains, and let it sit for a few minutes. Then, scrub gently and rinse with clean water.