Wooden windows are a timeless feature of many homes, known for their natural beauty, charm, and ability to provide excellent insulation. However, over time, the wear and tear from weather exposure, age, and general use can lead to the need for replacement. Replacing wooden windows is a significant investment, but with the right guidance, it can enhance your home’s aesthetic, energy efficiency, and overall value. This comprehensive guide walks you through the entire process of replacing wooden windows, from initial assessment to final installation, providing valuable insights along the way.
Before diving into the replacement process, it’s important to understand why you may want to replace your wooden windows. Some common signs include:
If you’ve noticed any of these signs, it’s time to consider replacing your wooden windows.
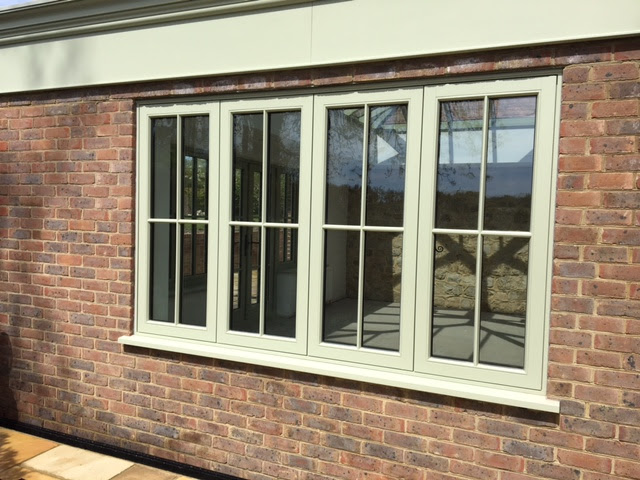
Before embarking on replacing wooden windows, the first step is to assess your current windows. This includes looking at their condition, the type of frame, and how well they perform. Determine whether you need a full replacement or if minor repairs (such as sealing, caulking, or reglazing) could be sufficient.
Additionally, consider the style and design of the window replacement. Do you want to maintain the original charm of your home with similar wooden windows, or are you interested in upgrading to a more energy-efficient option with modern materials? These decisions will guide your timber selection and installation approach.
When it comes to replacing wooden windows, one of the most important decisions is choosing the right timber. Not all types of wood are created equal, and some offer better durability and resistance to the elements than others. Here are a few popular timber options to consider:
Each timber type has its own pros and cons, so consider your climate, aesthetic preferences, and budget before making a decision.
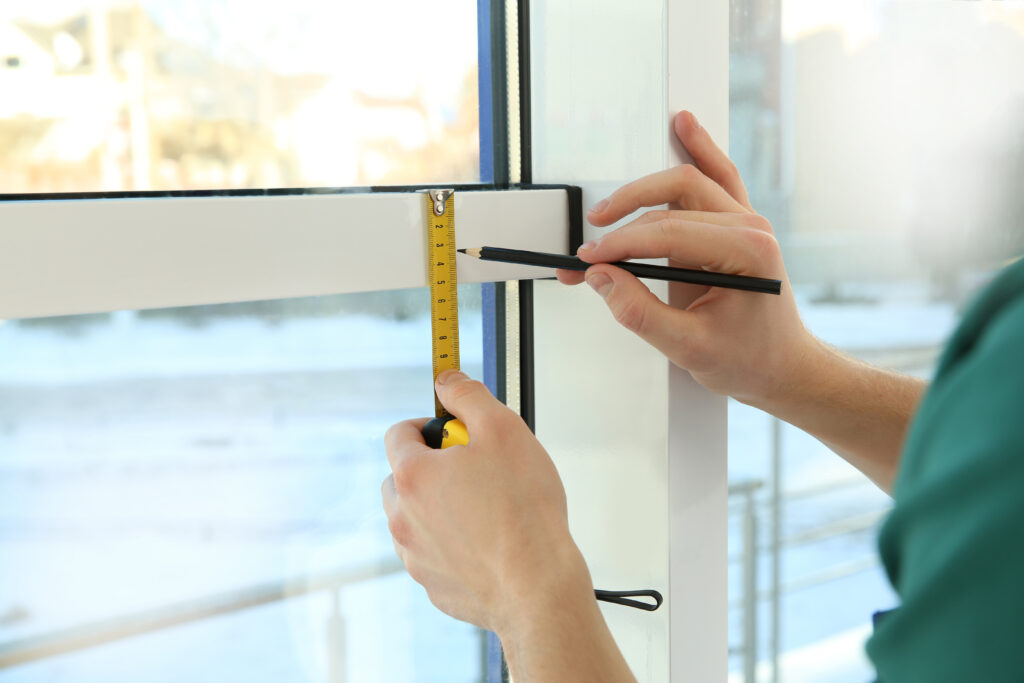
Measuring your windows correctly is essential for a successful installation. If measurements are too small, the new windows may not fit properly, while measurements that are too large can lead to gaps that affect the window’s performance.
Here’s how to take accurate measurements for replacing wooden windows:
1. Width: Measure the width at three points: the top, middle, and bottom. Use the narrowest measurement for the final window size.
2. Height: Measure the height at three points as well: left, middle, and right. Again, use the smallest of these measurements.
3. Frame Depth: Measure from the inside of the frame to the outside to ensure the replacement window fits snugly.
4. Check for Squareness: Use a carpenter’s square to ensure the window frame is square. If it’s out of square, adjustments may need to be made during installation.
Accurate measurements are essential for avoiding costly mistakes and ensuring your new windows fit perfectly.
While replacing wooden windows can be a DIY project for some homeowners, it’s typically best to hire a professional to ensure the job is done right. Here’s why:
Choosing a qualified contractor is important for the success of the project. Be sure to ask about their experience, reviews, and warranty options before proceeding.
While replacing wooden windows can dramatically improve your home, there are some potential pitfalls to watch out for:
Once your new wooden windows are installed, it’s important to follow proper aftercare to maintain their performance and longevity. Regularly inspect the frames for signs of wear, such as peeling paint, water damage, or cracks. Treat the timber with appropriate sealants and finishes to protect it from the elements.
Proper maintenance can prolong the life of your windows and preserve their appearance.
Replacing wooden windows is a big decision, but with the right preparation, timber selection, and professional installation, it can greatly improve your home’s energy efficiency, appearance, and overall value. By following the steps outlined in this guide, you can make informed choices about replacing wooden windows and avoid common mistakes. Whether you’re seeking a timeless, traditional look or want to incorporate modern window technologies, the right replacement can make a significant impact on your home for years to come.
If you’re ready to replace your wooden windows, reach out to a trusted professional to ensure a smooth and successful installation. Call Windows & Doors UK on 0333 335 5416 or send us a message online for more information.